


Java Scanning Library API Dev Guide
Asprise Scanning and Imaging for Java Installation
There are two options: add Asprise Scan as a maven/gradle dependency or manually download the SDK from asprise.com.
Option 1: Add Asprise Scan as a Maven/Gradle Dependency
If you are using maven for your build, simply add the following dependency to your pom.xml (under element: /project/dependencies):
<dependency>
    <groupId>com.asprise.imaging</groupId>
    <artifactId>java-scanner-access-twain</artifactId>
    <version>[12,)</version>
</dependency>
For gradle users, you need to add the following line to your build.gradle (under dependencies):
compile group: 'com.asprise.imaging', name: 'java-scanner-access-twain', version: '[12,)'
For Scala SBT:
libraryDependencies += "com.asprise.imaging" % "java-scanner-access-twain" % "[12,)"
After adding Asprise Scan as an dependency, you can then launch and play with the demo program:
import com.asprise.imaging.core.Imaging;;

public class App {
  public static void main( String[] args ) {
    Imaging.main(null);
  }
}
Once the demo UI launches, you can scan easily by selecting a demo and hitting the ‘Execute Demo’ button. Alternatively, you can execute your own scan DSL code - please refer to Asprise Scanning Request DSL for details.
Later sections will introduce how to invoke the scan API without the UI.
Option 2: Download Asprise Scan SDK from asprise.com
Download a copy of Asprise Scan SDK from our website. Simply unzip it to an empty folder. Let’s refer this folder as SCAN_HOME.
The file organization of Asprise Scan SDK distribution is as follows:
SCAN_HOME|--- asprise_scan.jar [Java library; the only file you need]|--- javadoc [Java docs]|--- *.bat|sh [Launch scan demos]After unzipping the archive, run the batch script to launch the scan demo program.
Development Environment Setup
After you have obtained and unzipped the Asprise Scanning and Imaging SDK kit, you need to setup your development environment in order to develop Java applications with Asprise Scan. To do so, you only need to:
Put asprise_scan.jar into your class path
Jump Start with Asprise Scanning Dialog
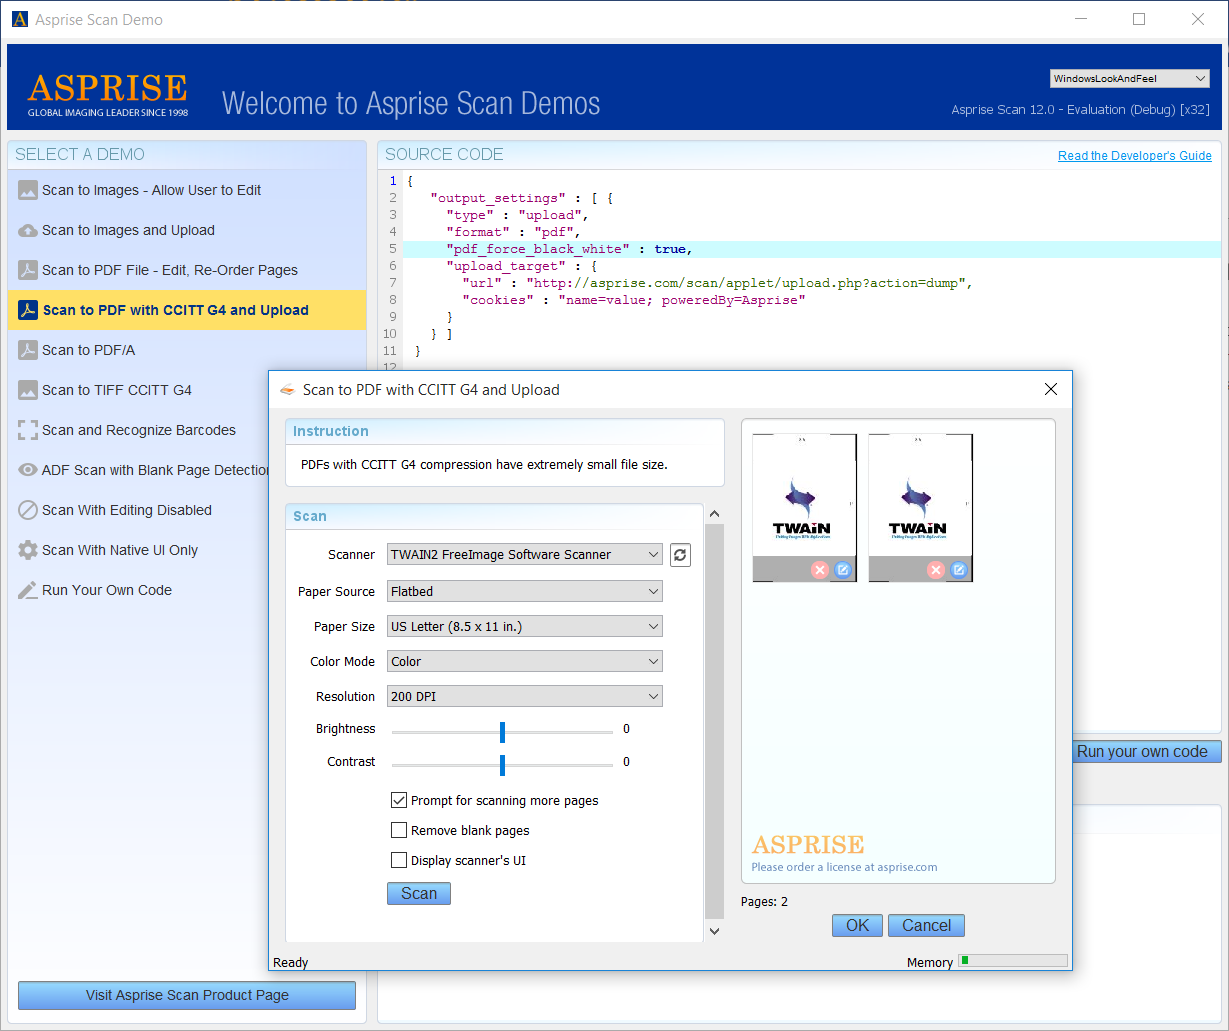
Asprise Scanning Dialog provides an intuitive UI for the user to scan images, re-order and edit them easily.
The following code demonstrates the basic usage of Asprise Scanning Dialog:
1 2 3 4 5 6 7 8 9 10 11 12 13 14 15 16 17 18 19 20 21 22 23 | import java.io.IOException;
import com.asprise.imaging.core.Request;
import com.asprise.imaging.core.Result;
import com.asprise.imaging.scan.ui.workbench.AspriseScanUI;
public class TestScanDsl {
public static void main(String[] args) throws IOException {
Result result = new AspriseScanUI().setRequest(Request.fromJson(
"{"
+ "\"output_settings\" : [ {"
+ " \"type\" : \"save\","
+ " \"format\" : \"pdf\","
+ " \"save_path\" : \"${TMP}\\\\${TMS}${EXT}\""
+ "} ]"
+ "}"))
.setInstruction("Scan <b>test</b>")
.showDialog(null, "Dialog Title", true, null);
System.out.println(result == null ? "(null)" : result.toJson(true));
}
}
|
Line 3-5: Imports the Asprise Scan classes.
Line 10: Creates a new instance of AspriseScanUI (you can reuse it later) and configures scan request through scan DSL (reference: Asprise Scanning Request DSL);
Line 19: Brings up the Apsrise UI dailog. If you are developing a Swing based application, you should specify the
first argument of showDialog with your Swing component so that dialog will be set up correctly.
Line 21: Prints out the result.
Use Java OO instead of Scan DSL
Alternatively, you can manipulate both the scan request and the scan result in an Object-Oriented approach.
1 2 3 4 5 6 7 8 9 10 11 12 13 14 15 16 17 18 19 20 21 | import java.io.IOException;
import com.asprise.imaging.core.Imaging;
import com.asprise.imaging.core.Request;
import com.asprise.imaging.core.RequestOutputItem;
import com.asprise.imaging.core.Result;
import com.asprise.imaging.scan.ui.workbench.AspriseScanUI;
public class TestScanOo {
public static void main(String[] args) throws IOException {
Result result = new AspriseScanUI().setRequest(
new Request().addOutputItem(
new RequestOutputItem(Imaging.OUTPUT_SAVE, Imaging.FORMAT_PDF)
.setSavePath("${TMP}\\\\${TMS}${EXT}")))
.setInstruction("Scan <b>test</b>")
.showDialog(null, "Dialog Title", true, null);
System.out.println(result == null ? "(null)" : result.getPdfFile());
}
}
|
i18n: Localize the UI
Both Asprise Scan Dialog and Asprise Source Selector UI support i18n. You simply specify the language which the UI should be displayed in:
request.setI18n("lang", "fr") ...
please refer to i18n: Internationalization and Localization for details.
Native Scan without Asprise Scanning Dialog
In some cases, if you do not need Asprise Scanning Dialog UI or you prefer to implement your own UI, you can use native scan without Asprise Scanning Dialog:
The following code demonstrates the basic usage of native scan without Asprise Scanning Dialog:
1 2 3 4 5 6 7 8 9 10 11 12 13 14 15 16 17 18 19 20 21 22 | import java.io.IOException;
import com.asprise.imaging.core.Imaging;
import com.asprise.imaging.core.Request;
import com.asprise.imaging.core.Result;
public class TestScanNoDialog {
public static void main(String[] args) throws IOException {
Imaging imaging = new Imaging("myApp", 0);
Result result = imaging.scan(Request.fromJson(
"{"
+ "\"output_settings\" : [ {"
+ " \"type\" : \"save\","
+ " \"format\" : \"pdf\","
+ " \"save_path\" : \"${TMP}\\\\${TMS}${EXT}\""
+ "} ]"
+ "}"), "select", false, false);
System.out.println(result == null ? "(null)" : result.toJson(true));
}
}
|
Line 18: “select” instructs the system to prompt a device selection dialog. You may use “default” to select the default scanner without prompt or the exact device name to select it directly.
Common Operations and Tasks
The following sections list common scanning related operations and tasks.
List Sources Optionally with Capabilities
To list all scanners and cameras optionally with their capabilities:
1 2 3 4 5 6 | Imaging imaging = new Imaging("myApp", 0);
List<Source> sourcesNameOnly = imaging.scanListSources(true, "all", true, true);
System.out.println("All sources with names only: \n" + sourcesNameOnly);
List<Source> sourcesWithCaps = imaging.scanListSources(false, "all", true, true);
System.out.println("All sources with detailed info: \n" + sourcesWithCaps);
|
The default Source will return true when source.isDefaultSource() is called.
Get Source Name
Once you have obtained a list of Sources, you may iterate the list and inspect the invidiual Sources.
To get the exact source name of a Source, you use:
String name = source.getSourceName();
Get and Set the Default Source
To get and set the default source:
1 2 3 4 5 6 7 8 | Imaging imaging = new Imaging("myApp", 0);
String defaultSourceName = imaging.scanGetDefaultSourceName();
// Prompts the user to select the default source.
String defaultSrc = imaging.scanSelectDefaultSource(null);
// Selects the default source by its name without prompting the dialog
imaging.scanSelectDefaultSource('EXACT_SOURCE_NAME');
|
Feeder (ADF) and Flatbed Detection
When listing sources using imaging.scanListSources(true, "all", true, true), both feeder and flatbed units are detected.
To check whether a scanner has a feeder and/or a flatbed, you may use:
boolean hasAdf = source.hasFeeder();
boolean hasFlatbed = source.hasFlatbed();
Accessing Capabilities
To access the capabilities on the Source object:
List<Capability> allCaps = source.getCaps(); // get all capabilities
if(allCaps != null) {
   for(Capability cap : allCaps) {
      System.out.println(cap.getName() + ": " + cap.getValue());
   }
}

// Get a particular capability
Capability capPixelType = source.getCap(TwainConstants.ICAP_PIXELTYPE);
Set and Get Capabilities
Imaging.getSource can be used to set and get capabilites.
For example, to select the feeder and list all capabilities:
Source source = imaging.getSource("select", false, "all", false, false,
   "CAP_FEEDERENABLED: 1; CAP_DUPLEXENABLED: 1");
List<Capability> allCaps = source.getCaps();
Note that in above code, “select” prompts the user to select a source. You may use the exact source name to select the device directly without prompting the device selection dialog.
You may specify an explicit list of capabilities instead of ‘all’:
Source source = imaging.getSource("select", false, "ICAP_PIXELTYPE, ICAP_UNITS", false, false,
   "CAP_FEEDERENABLED: 1; CAP_DUPLEXENABLED: 1");
List<Capability> allCaps = source.getCaps();
Get System Information
Imaging.getSystemInfo returns system information such as user locale, default paper size and measurement system:
{
   "default_paper_size" : "letter",
   "measurement_system" : "us",
   "os" : "Win10-64",
   "timezone_bias" : 0,
   "timezone_name" : "Eastern Standard Time",
   "timezone_type" : "standard",
   "twain_version" : "2.3.0.0, 2.3.0.0",
   "user_default_lang_code" : "en_US",
   "user_default_lang_id" : 1033,
   "user_default_lc_code" : "en_US",
   "user_default_lc_id" : 1033,
   "user_default_ui_lang_code" : 1033,
   "user_default_ui_lang_id" : 1033,
   "user_geo_nation_id" : 244,
   "user_geo_nation_name" : "US; United States",
   "user_geo_region_id" : -1,
   "user_geo_region_name" : ""
}
Multi-threading with Asprise Scan
The rule of the thumb is that you should always perform scan related calls from the same thread.
There could be many ways to ensure that. Below approach is probably one of the easiest.
Imaging’s Default Executor Service
The Imaging class offers a default executor service with a single thread, so that any task you submit will always get executed in the same thread.
To use it, you simply wrap your scanning related code into a Runnable or Callable and then:
Imaging.getDefaultExecutorServiceForScanning().submit(runnable);
Software Packaging and Distribution
So you have successfully developed your Java applications with Asprise Scanning and Imaging SDK. It’s time to distribute your programs to end users. First, make sure you are an authorized licensee registered with Asprise. To purchase a license, please visit: http://asprise.com